How To Adjust Backrest On Office Chair? – A Useful Guide
Contents

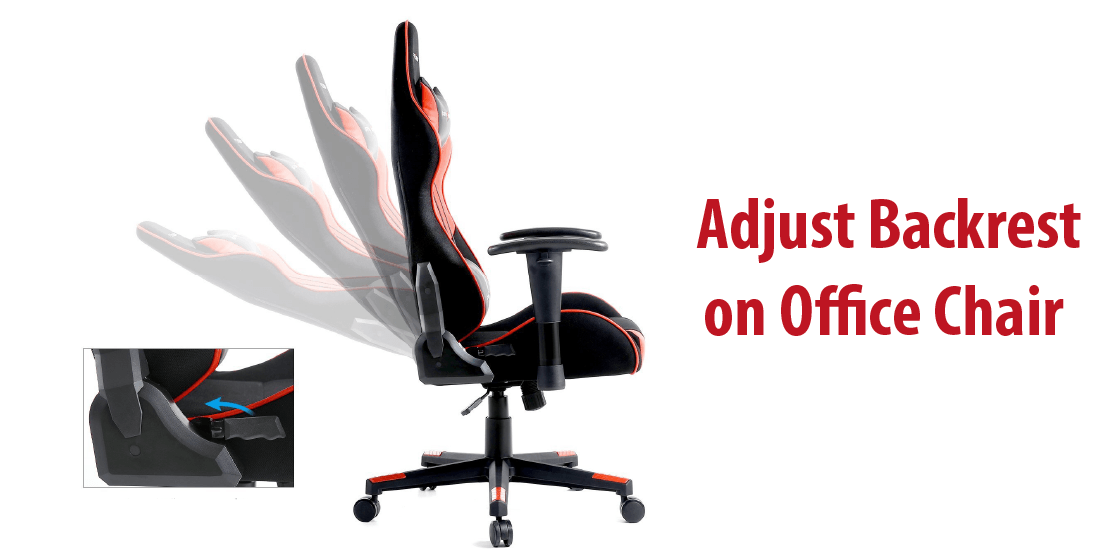
Having a good office chair is one key cornerstone of your office. However, if you cannot set it up right to properly fit your body, it will not do you any good regardless of whether it cost you $200 or $1,000. So once you have chosen your chair, it’s imperative to take your time to understand how you can adjust backrest on office chair so that it can fit your kind of work and body.
The right chair should allow you to customize the armrest, seat depth, height, lower back support, as well as reclining to ensure you are comfortable regardless of the tasks you are handling. However, setting up these options for your comfort and ergonomics isn’t always obvious, it can be daunting. But do not fret, below is a comprehensive and an easy-to-follow guideline on how adjust backrest on office chair.
Selected Videos To Adjust Your Office Chairs:

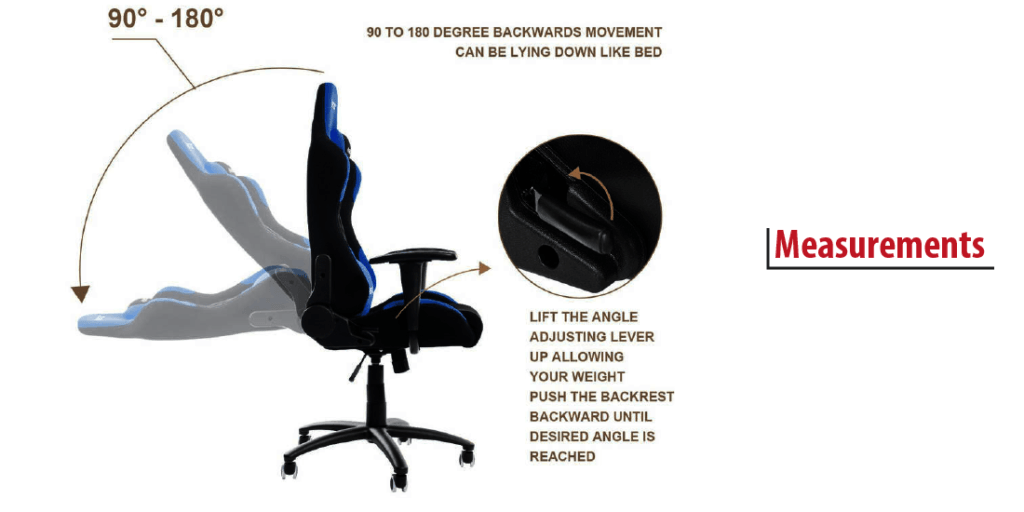
Different Types Of Measurement:
1. Elbow Measure
The first step to ensure you have maximum comfort, you need to adjust your elbow angles. As a rule of thumb, the height of the chair should keep your elbows at the level of your work surface. So put your hands on the desk and begin to adjust the height of the chair until your elbows reach a 90 degree angle to your desktop level.
2. Thigh Measure
Thigh measure is one of the most crucial aspects of proper chair adjustments. When sitting, you need to ensure that your thighs can easily slide under your desk and still sit comfortably. To achieve this, you may have to keep your thighs parallel to the ground, your feet flat on the floor, and your knees at a 90 degree angle. This will help relieve pressure and improve blood flow at the back of your legs. In addition, your body should maintain a 90 degree angle to your thighs to ensure the spine is aligned.
3. Calf Measure
The next step is to try to reach for your calves with your back firmly pressed against the chair. If the chair is properly adjusted, you should do it effortlessly from the front of the chair. If not, it shows that the chair is too deep and you need to move the backrest forward to increase back support.
4. Low Back Support
The back of the chair is designed to support your posture, that’s why it’s important to choose a chair that has lumbar support (a tiny plastic piece at the back of the chair). The lumbar support offers greater adjustability so that your back can comfortably rest against the chair while working.
Ensure that the ‘thicker’ part of the lumbar support perfectly fits into the natural curve of your low back. This way, the spine can maintain its neutral S-shape and your back muscles don’t have to stress too much to maintain the proper posture. Poor back support can cause muscle fatigue and the tendency to slouch forward, which can result in straining the lower back.
As a rule of thumb, avoid leaning forward and keep your back firmly pressed to the back of your chair while working to minimize the pressure placed on your back.
5. Resting Eye Level
To achieve the right resting eye level, raise or lower the height chair to ensure that your eyes are aimed at the top or center of your screen. This way, you can reduce the pressure on your upper back as well as minimizing eye fatigue.
6. Armrest
Armrest is an underestimated but crucial element of an office chair, which can help reduce the amount of stress on your back and shoulders as well as discourage any slouch. It is advisable to choose an office chair with adjustable armrests. This means that you can adjust both the width and height to comfortably support your arms. This also means that the armrests can move up and down as well as toward and away from your body to adapt to your body size.
When adjusting, ensure the height of your armrest is in such a position that relaxes your neck and shoulders. Also, make sure the angle between your upper arm and the forearm is greater than 90 degrees. Moreover, do not place your elbow on the armrest while typing.
Choosing The Correct Chair

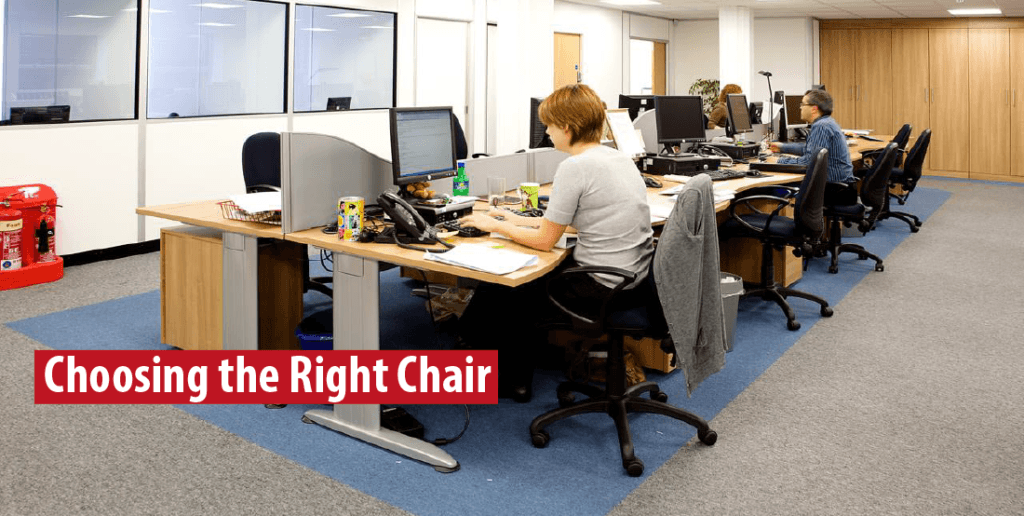
Although it doesn’t seem like a big deal, choosing the right office chair can make a huge difference in your comfort and health. Working in an office often involves sitting for extended periods of time- a position that puts a lot of stress on the structures of your back and spine. This can lead to serious discomfort and back problems.
Therefore, to avoid developing these health issues, you need to choose the proper office chair that will allow you to stay comfortable, supports your lower back, and promotes good sitting posture throughout your workday.
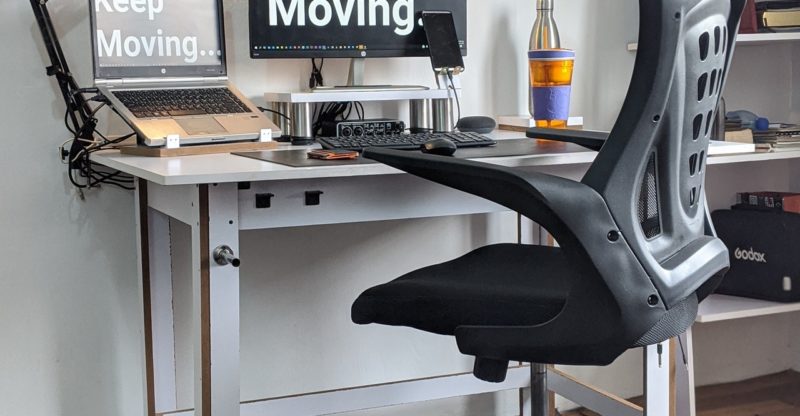
As a rule of thumb, personal testing is a must because you will find a wide range of office chairs in the market with varying shapes, size, designs, adjustments, and more. Moreover, you cannot decide if a chair is right or not for you if you haven’t tried and adjusted it properly. Below are key factors you can consider when selecting the best office chair.
Office Chair Adjustment Levers
1. Back Height Adjustment
This adjustment is designed to control the height of your lower back depending on the size of the seat cushion. Since the lumbar support area has an inward curve, when you sit the curve gets minimized, thus adding extra strain on your lower back.
That said, back height adjustment allows you to properly position your lumbar support area so that it can deliver external pressure to your lower back. As a result, the spine maintains its natural curve while seating, and reduced strain to the vertebrae.
So, how do you adjust your chair’s back height?
Depending on the model of your office chair, you can adjust the back height by turning a knob, using a handle, or by just lifting the back cushion to the position that perfectly fits you.
2. Adjustable Back Angle
An adjustable back angle allows you to achieve an upright sitiing posture. So whether you are holding a meeting, talking or reading from your chair, you can recline the backrest with the adjustable back angle mechanism. In addition, it relaxes and offers an essential change for your back.
3. Pneumatic Lift
Most office chairs apply pneumatic lift mechanism, which allows you to move the chair up and down in a fluid motion, to suit your body shape and workstation setup. Simply, the height of the chair is controlled with a touch of a lever underneath the seat.
4. Infinite Tilt Lock
This tilt lock is designed to lock out the tilt functionality when you are seated in an upright position typing. It is also designed to provide a comfortable reclining or rocking motion when reading, picking calls or during meetings.
5. Forward Tilt
When you activate (limit forward tilt) the forward tilt, the lockout feature ensures that your seat angle is parallel to the ground. When you deactivate (allow forward tilt) the forward tilt, the seat normally tilts forward up to approximately 6 degrees.
But before you activate or deactivate the forward tilt, always ensure your chair is in a reclined position.


