
Very Easy Guide On How To Repair A Wooden Chair Back
Contents
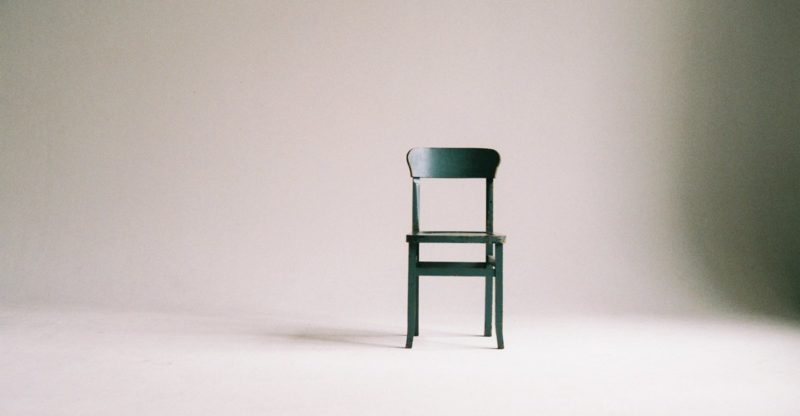
Few pieces of furniture get more abuse than the wooden chair (here’s how these chairs are made). The reason is chaired must solve two main problems. They need to be strong to hold or light enough to be mobile.
Big loads, constant movement, and light joints add up the tear and wear on the chair joints. The chair is the common item to bring into shops.
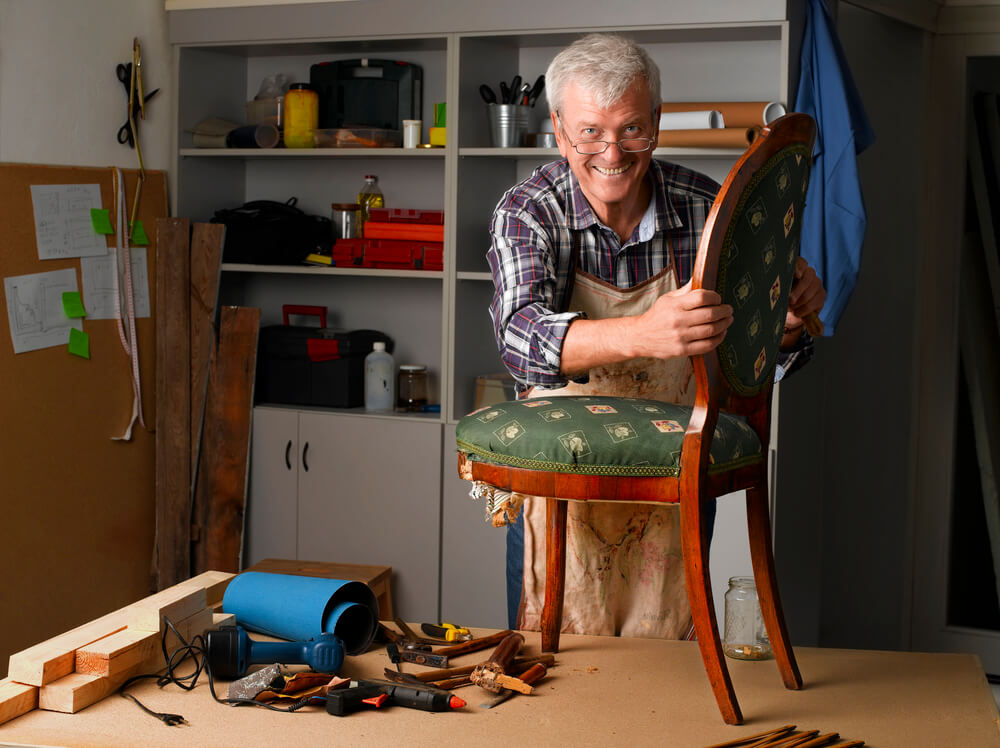
If you are a woodworker, you can repair it frequently. The article will aid you to show the right way to repair the chair.
I recoiled when I thought to repair the chair. I thought loose joints would need a healthy dose of PVA glue and little fasten pressure.
It seemed to me the chair is superior and strong enough when I have done it. But after few months and the joint became loose again.
Some lesson and a small research aid me to know that my approach is well intentioned and fully wrong.
Most of the chairs are made before 1950 and were kept with the hot hide bond. The beauty of the glue is reversible. This permit you the reach the glue with some water make repairs easy. PVA glue messes the things up.
Hide glue as well as PVA glue work for soaking the wood fiber. The problem is to add PVA glue with the fix hide glue joints assembled.
The cured cover glue works as a sealer and resists the new glue penetrating the lumber fibers. The water of the PVA glue helps to reactivate hide glue and may help for wood fiber diffusion.
But joint has very burly glue bond if requires withstanding Uncle Henry variable around the chair at Thanksgiving. Finally, PVA is not turntabled to make future revamp work hard.
In this section, I emphasize how to make joint with glue and how they are structurally sound.
Then I will let you know the way of broken dowels, the way to clean PVA glue from my past repair or some basic things I have learned from May years to ensure a trouble free and guarantee successful repair.
Wooden Chair Repair Parts
You are making your chair from scratch or repairing; it will last for few years. You will get everything to do the job right here. We are ready to offer the highest quality products from leather, cane seats and wood to decorative caning tools or wooden chair legs.
We have lots of components and made different sizes. Therefore you will get your desired size what you are looking for a long time. You can get what you like to get at Van Dyke’s to preserve your chair looking the best for the coming years.
Chair Repair Tools
Teri Masaschi, author of Foolproof Wood Finishing: “People who like and love to Build & Hate to Finish knows it well that it is a great fun to shop new wood finishing products. At the first time of starting out, you must not go overboard.”
Buy per project: You must not fill your cabinet with the thing you desire. You must fill the cabinet completely before you are aware of it.
You need some basis to start; all are masaschi’s suggestion for a great round arsenal of tools.
If you buy something to see the label well with the date of buying. Time moves very quickly and the products may not last for a longer time.
All of the following are available at big-box stores:
1. Thick Stripper
A thicks striper is used to remove paint. To get thick paint on an old wood piece, you can buy a goopy product. The product can cling to the piece like Klean-Strip Semi-Paste Stripper.
2. Thin Striper
Thin stripper to finish exclusion. You must not keep staying power for a long time to remove old finishes. Masashi expresses that old masters are selling a fine watery stripper, TM-1.
Take a small pan and wash down the piece by soaking it once again by the brush. The stripper will dissolve everything very quickly. This is really superb.
3. Power Sander
When you finish stripping, you have to smooth the surface sanding it. You can cut down a power sander for a big job. You may sand by hand about hundred to 200 strokes per minute.
But a power tool may whip out six thousand to eight thousand strokes in the same time schedule. You have to put sandpaper discs on your hand in a range of grit sizes from eighty to 220.
4. Fine Sandpaper
The fine believable sandpaper is from Shopsmith, Masaschi says. It remains sharp and lasts for a long It is super quality. Moreover, the power sanding discs take some 320 to 400 girt sheets with a couple of blocks for hand sanding. There are many blocks on the market. You should use a wood block or a felt block with few glued to it.
5. Wipe On Finishes And Stains
Masaschi suggests wiping on products for the amateur wood finisher like Minwax Wipe-On Polyurethane and General Finishes gel topcoat. If any person is taken all my spray guns away, I would move to wipe-on.
6. Coats
There remain lots of coats to ensure durability. These are very simple to use and very pretty. Brush on the surface of the products and use few coats to make a tough surface. It remains wet for longer.
Therefore you will get sags, drips, brushstrokes which debris and show and dust falling on the finish. Rinse the product well and remove a headache completely.
How to Repair A Wooden Chair Back
- Hold back rail and spindle by your hands. Twist and wiggle them personally. Extract rails and spindles which are cracked or loose.
- Enter knife into the splits or cracks. Pry the section open as much as you can. Enter wood glue to the crack to saturate it. Take out the knife. To compress it keep clamps to the racks. If clamps do not enter, wrap it with masking tape. Use a damp cloth to remove excess glue. Keep it for the whole night to make it dry and take away clamps or the strip. Scrape off the dried glues by using the putty knife.
- Enter a 1/4 inch drill bit to a driver or drill. Insert it into the tip of the bit at the place where loose back or spindles penetrate to cross member or chair seat to the top. Tilt it up to thirty degrees. Drill from up to down to the end of the rail or spindle at least one and a half inch in depth. If bit penetrates all the way well to the other side, then it is perfect.
- Enter glue inside the hole. Tape one 1/4-by-1 ½“ dowel by using a hammer. It is fine if it goes all the way completely. Keep the whole night to make it dry. Cut the end of the dowels if it remains outside. Color it with the stain marker to adjust the color of the chair.
Tips On How To Repair A Wooden Chair Back
Use stain marker to repair the dried glue spots or lines that you have made a mistake. Notice the bottom of the chair’s legs.
If you see the missing glue, buy a new one and hammer in them well. Chair glides may seem to look thumbtacks on steroids.
It aids the chair to slide rather than binding on rough floor or carpets. It reduces the stress on the chair, permit to remain for a longer period to remain.
The examples are average two inches thick. If the parts are smaller or bigger, use the desired size dowel.
Recommended For You
What Is An Adirondack Chair {A Simple Guide}
Mike J Farman
I’ve been a programmer for most of my life. I live in Chicago, IL with my lovely wife and 2 year old boy. Today, I’m proud to be considered somewhat of an authority on chairs – a seating aficionado if you will. Now, did I choose this path? Definitely not; but my readers demand it!

