

How To Fix Wooden Chair Joints? – A Very Useful Guide
Contents
We subject our chairs to all types of stress, and eventually, the joints can’t handle it anymore. It starts with one joint, and then eventually the pressure is transferred to all other joints, leading to a wobbly chair.
In some cases, some parts may break. There are situations where simple glue applications can help, but for a long term solution, you may need to disassemble, reglue, or even replace some parts.
If you have chairs with loosened joints or with broken pieces, don’t throw them away just yet. Keep reading to find out how to fix them and repurpose them for your house, or even sell them.
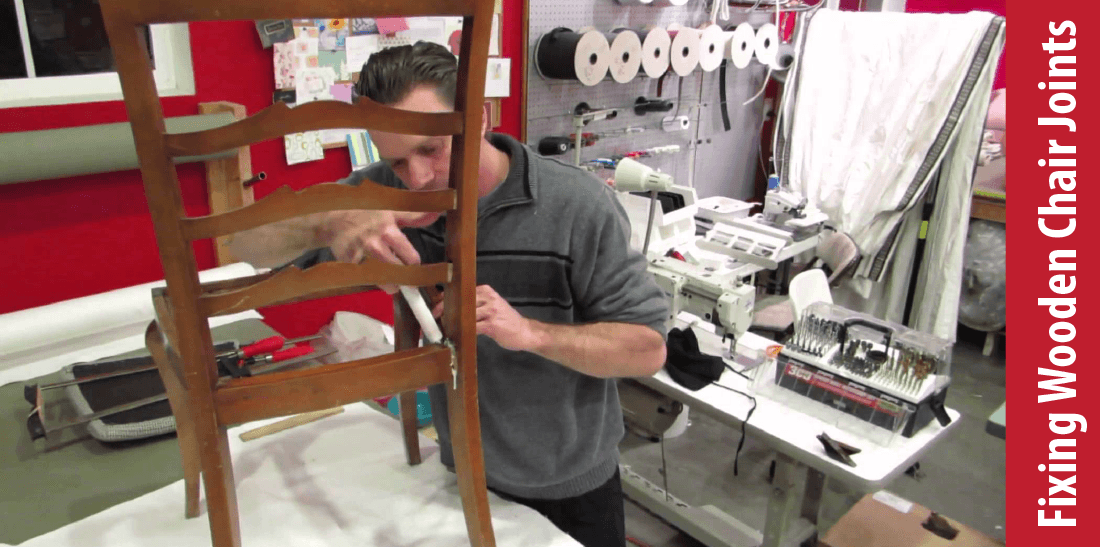
Selected Videos
Step-by-step Guide On How To Fix Wooden Chair Joints
Tools Necessary For Fixing Wooden Chair Joints
- Spreading clamp
- Hammer
- Hack saw
- Saw
- Wood glue
- Drill
- Drill bit, e.g. a 3/8 inches drill bit
- Box cutter
- Marking tape
1. Assess The Mature Of The Damage
Chairs are joined together by mortises and tenons, and in rare cases, screws and nails. If there’s a slight loosening in these joints, you can inject glue before the loose joint distributes the stress to the rest of the chair.
If there’s a crack in the spindles or the rung, you can wedge open the crack, inject some wood glue, and then cramp for about two days. In most cases, your chair will be working fine after this.
2. Disassemble The Chair
Injecting glue is not always the best solution; especially in joints. This is because there may be some old dried glue and dirt which reduce the adhesiveness of the new glue. In this case, you need to disassemble the chair, clean the tenons and mortises, apply new glue and reassemble the chair.
To disassemble the chair, first, check if the back is okay or if it’s loose. If it’s loose, first remove the legs before you can remove the back. To prevent any potential damage on the sitting part of the chair, place padding on the table, and place your chair upside down.
Spreader clamps are convenient in disassembling the legs. Start with the front legs before removing the hind legs. If they are stiff, you can use a hammer to gently hit the legs as you wiggle until they come off. Also, make sure you label the parts consistently to prevent any confusion s when reassembling the chair.
Spindles, also known as stretchers, are the most complicated. Label the top part so that you can remember how the labels appeared before dismantling. You can also take a picture of the tags to help you remember the pattern. After removing the legs, you can also remove the back.
The back of a chair is removed by gently wiggling while twisting the spindles until it comes off. Don’t use too much force. Once you have all the parts, it’s time to clean them and apply new glue. If your chair is attached with screws and nails, you will have to drill, which will affect the aesthetics of the chair.
Using a drill bit, drill two holes on the sides of the nail, and then use nail-clip pliers to remove the nail. You can always fill the gaps with filling or wood finish.
3. Cleaning The Joints
New glue doesn’t work with old adhesive. So you need to remove it, as well as any dirt on the tenons and the mortise. The best way to do this is to use sandpaper or a file. For a tenon, wrap the sandpaper and rub gently. The goal here is to remove any residuals without removing any piece of wood. You can also use a file to rub.
Files and sandpapers are also useful when cleaning through mortises. However, it might be difficult to clean a regular mortise with them. In this case, use a drill bit that fits in the mortise to clean.
4. Test The Joints
After cleaning, test the joints to see if they fit, without glue. If the joints are loose, you can fill the tenon with wood filler. You can also fill it with silicon threads. Apply some glue then wrap it with the thread or wood fillings.
Repeat the process until it can firmly fit in the mortise then let it dry for a day before reassembling the chair. Once you’ve made sure that the joints can fit tightly, it’s time to apply glue.
5. Glueing
Apply glue on the mortise and the tenon using an artist’s brush. Make sure you apply enough to make sure the joints are firm. PVA glue is commonly used in repairs since it’s easy to clean with water, and it’s also cheaper and readily available.
6. Assembling
Reassemble the chair in reverse. That is, if the back was the last to be removed, it would be the first to be reassembled. Do not glue all of the pieces all at once; glue them in batches, as you reassemble them.
After reassembling, you need to insert some pressure to ensure the joints are firm when the glue dries. This is achieved by clamping the joints. Also, it helps if you place a heavy object on the seat of the chair. This ensures that all the legs are touching the floor as it dries. Also, ensure that the chair rests on level ground.
All these tips will help restore a firm chair while preventing any wobbling from unbalanced legs.
Additional Tips On Fix Wooden Chair Joints
You can also strengthen the joints by adding an extra dowel and some glue. Once you identify the loose-fitting, clamp it and drill a hole that cuts through two loose pieces.
After making a through-hole, inject wood glue, and gently hit a dowel into this hole until it goes through to the other side of the hole.
The hole should be drilled at a 30 degrees angle. Ensure that the joint is firmly clamped and let the joint dry for at least two days.
These are all simple steps on how to fix wooden chair joints. We hope you find this guide helpful for your DIY projects – here is how to fix a wooden chair seat or a chair back.

Recommended For You
How Often Should You Use A Massage Chair?
Mike J Farman
I’ve been a programmer for most of my life. I live in Chicago, IL with my lovely wife and 2 year old boy. Today, I’m proud to be considered somewhat of an authority on chairs – a seating aficionado if you will. Now, did I choose this path? Definitely not; but my readers demand it!


